Chromakey Overlay (Premiere Pro)
Many of our designs move away from being being completely squared off on all sides with perfect corners as a way to achieve a more modern look. To do this while keeping reasonable file sizes and high compatibility with video editing software, we add a pure blue background to the overlays. This allows you to use the chroma key effect in your video editing software to remove the blue background, provding a great look in your videos.
Prerequisites
- A basic understanding of how to use Premiere Pro.
- A Premiere Pro project with your video imported, including the overlay you generated from KartingStats UK.
For our demo, we have a short segment of a video ~4 minutes long, with an overlay generated from KartingStats UK. The overlay is the Fluent Wide overlay.
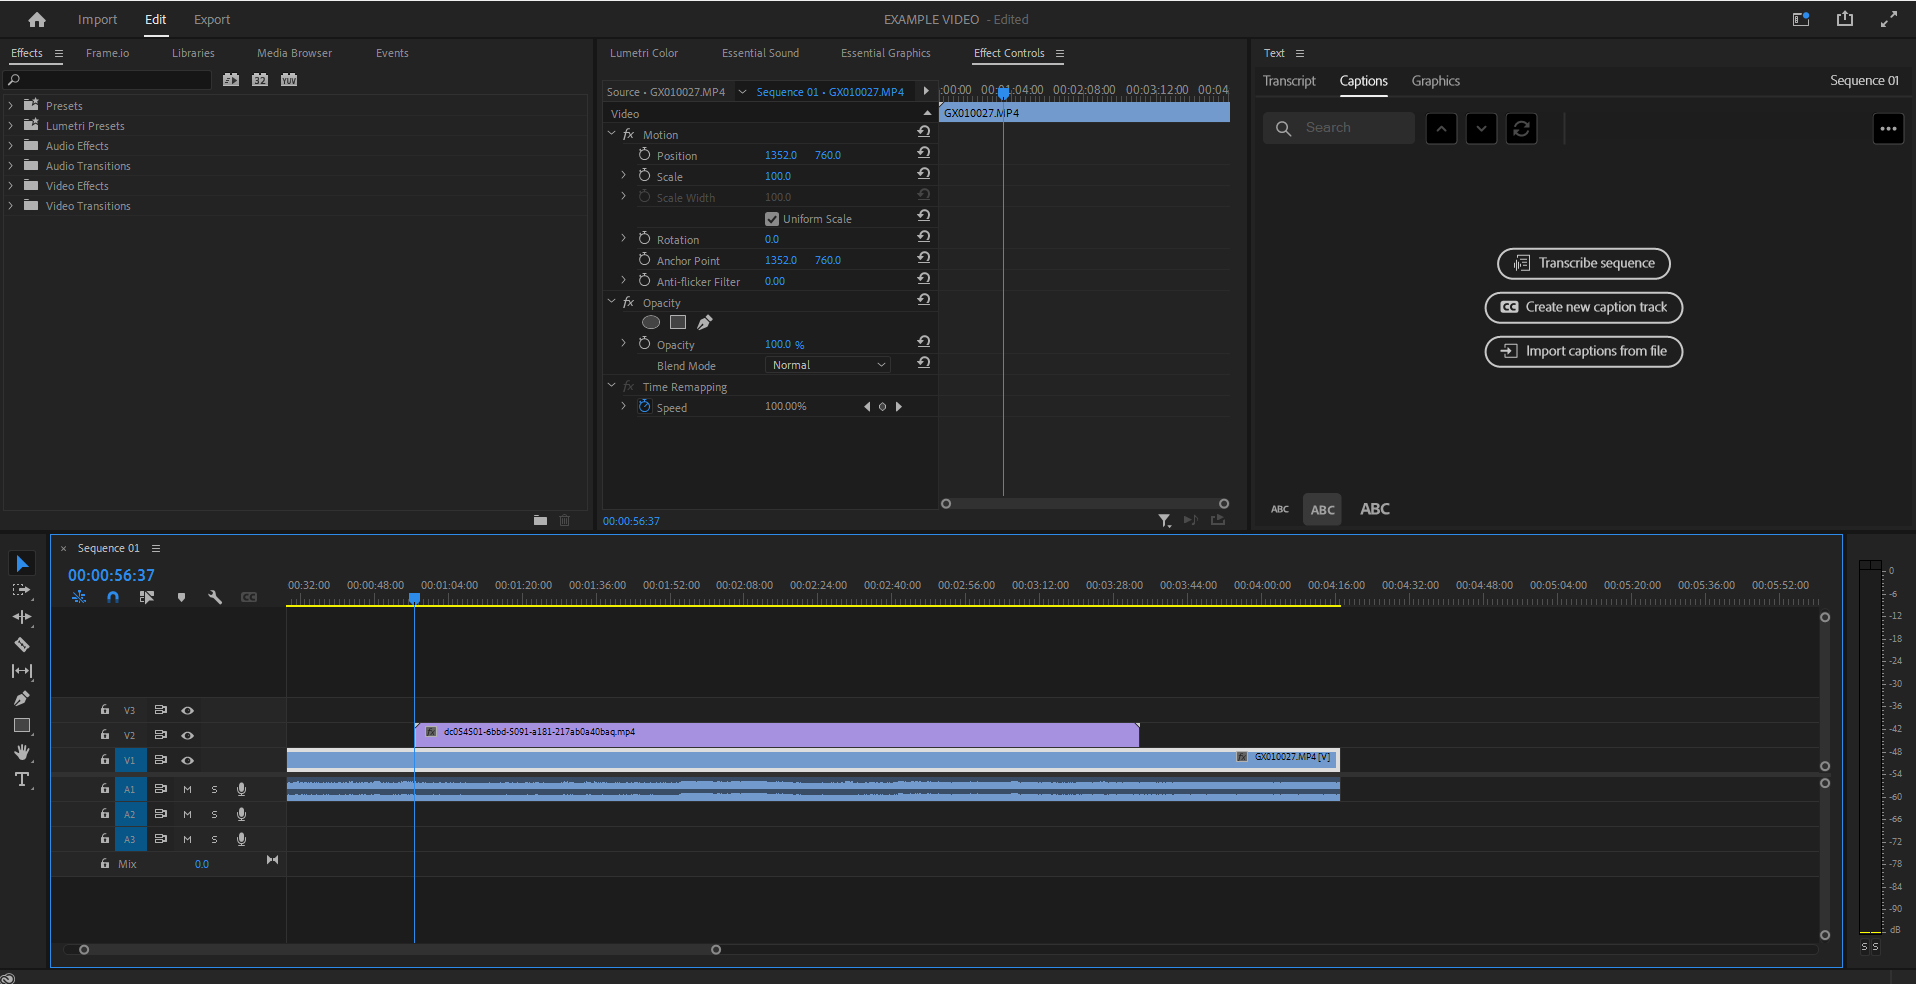
Everyone will have their own prefered premiere pro setup. For us, we like the panels set out as you'll see in the screenshots below. This is simply a preference and doesn't stop you from following along with the guide. If you have any challenges following along, please let us know in our Discord server and we'll do our best to help you out.
As you can see below, we have our karting video and overlay both imported into the project and placed on the timeline, the overlay being on the top layer in pink and the video below it.
Placement and Scale
Before applying any effects, we like to place and scale the overlay to the desired position and size. This is done by selecting the overlay in the timeline and then using the Effect Controls panel to adjust the Position and Scale of the overlay.

Chromakey Effect
Following the placement and scaling of the overlay, we can now apply the chromakey effect to remove the blue background. To do this, we will use the Ultra Key effect which is available in the Effects panel.
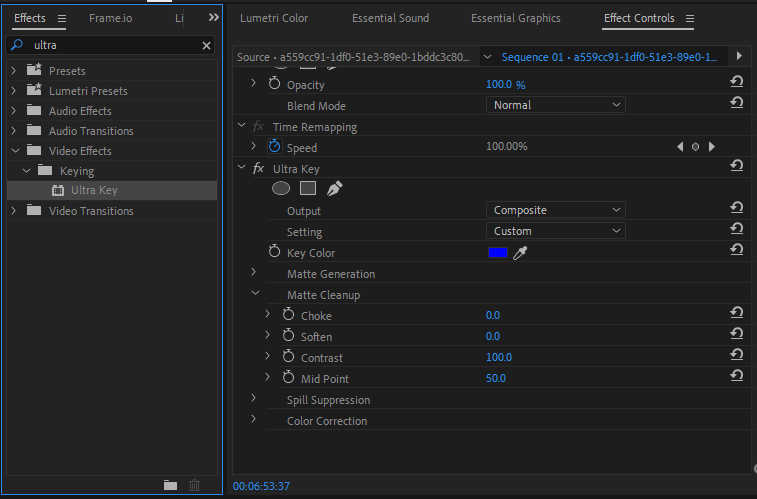
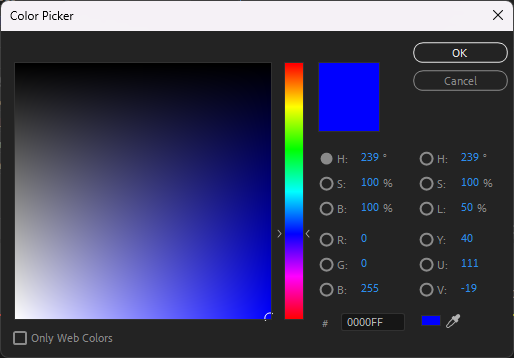
To configure this effect we have only changed two of the settings in our effect controls panel, the Key Color which we set to pure blue (RGB: 0, 0, 255) and for this specific overlay, we adjusted the contrast under the Matte Cleanup section to 100. This is because our overlay has some purple highlights that may become slightly translucent if we leave the contrast at the default value.